1) FastAPI Tutorial
Chapter Preview
목표
- FastAPI 의 공식 문서를 참고하여 간단한 API 를 만들어봅니다.
- Path Parameter 와 Query Parameter 를 이해하고 이를 이용하여 API 를 만들어봅니다.
스펙 명세서
FastAPI 의 공식 문서를 참고하여 튜토리얼을 진행합니다.
- 필요한 패키지를 설치합니다.
- First Steps 를 따라 FastAPI 를 이용해 간단한 API 를 만들어봅니다.
- Path Parameter 에 대해 학습합니다.
- Query Parameter 에 대해 학습합니다.
- Path Parameter 와 Query Parameter 를 모두 사용하여 API 를 만들어봅니다. [Multiple Path and Query Parameters]
해당 파트의 전체 코드는 mlops-for-mle/part5/ 에서 확인할 수 있습니다.
part5
├── Dockerfile
├── Makefile
├── crud_path.py
├── crud_pydantic.py
├── crud_query.py
├── main.py
├── multi_param.py
├── path_param.py
└── query_param.py
0. 패키지 설치
필요한 패키지를 설치합니다. [Tutorial - User Guide - Intro]
pip install "fastapi[all]"
1. FastAPI 를 이용해 간단한 API 만들어보기
1.1 main.py
다음과 같이 main.py 를 작성합니다. [First Steps]
# main.py
from fastapi import FastAPI

# Create a FastAPI instance
app = FastAPI()


@app.get("/")
def read_root():
    return {"Hello": "World"}
1.2 실행
터미널에 다음 명령어를 입력하여 작성한 파일을 실행합니다. 파일을 실행하는 법은 아래와 같습니다.
uvicorn main:app --reload
- uvicorn :
- FastAPI 를 실행하는 웹 서버 실행 Command Line Tool 입니다.
- main :
- 위에서 작성한 Python 모듈
main.py를 의미합니다.
- 위에서 작성한 Python 모듈
- app :
main.py에서app = FastAPI()를 통해 생성된 객체를 의미합니다.
- --reload :
- 코드가 바뀌었을 때 서버가 재시작할 수 있도록 해주는 옵션입니다.
1.3 실행 확인
이제 http://localhost:8000 에 접속해보면 다음 화면과 같이 {"Hello": "World"} 가 표시되는 것을 확인할 수 있습니다.
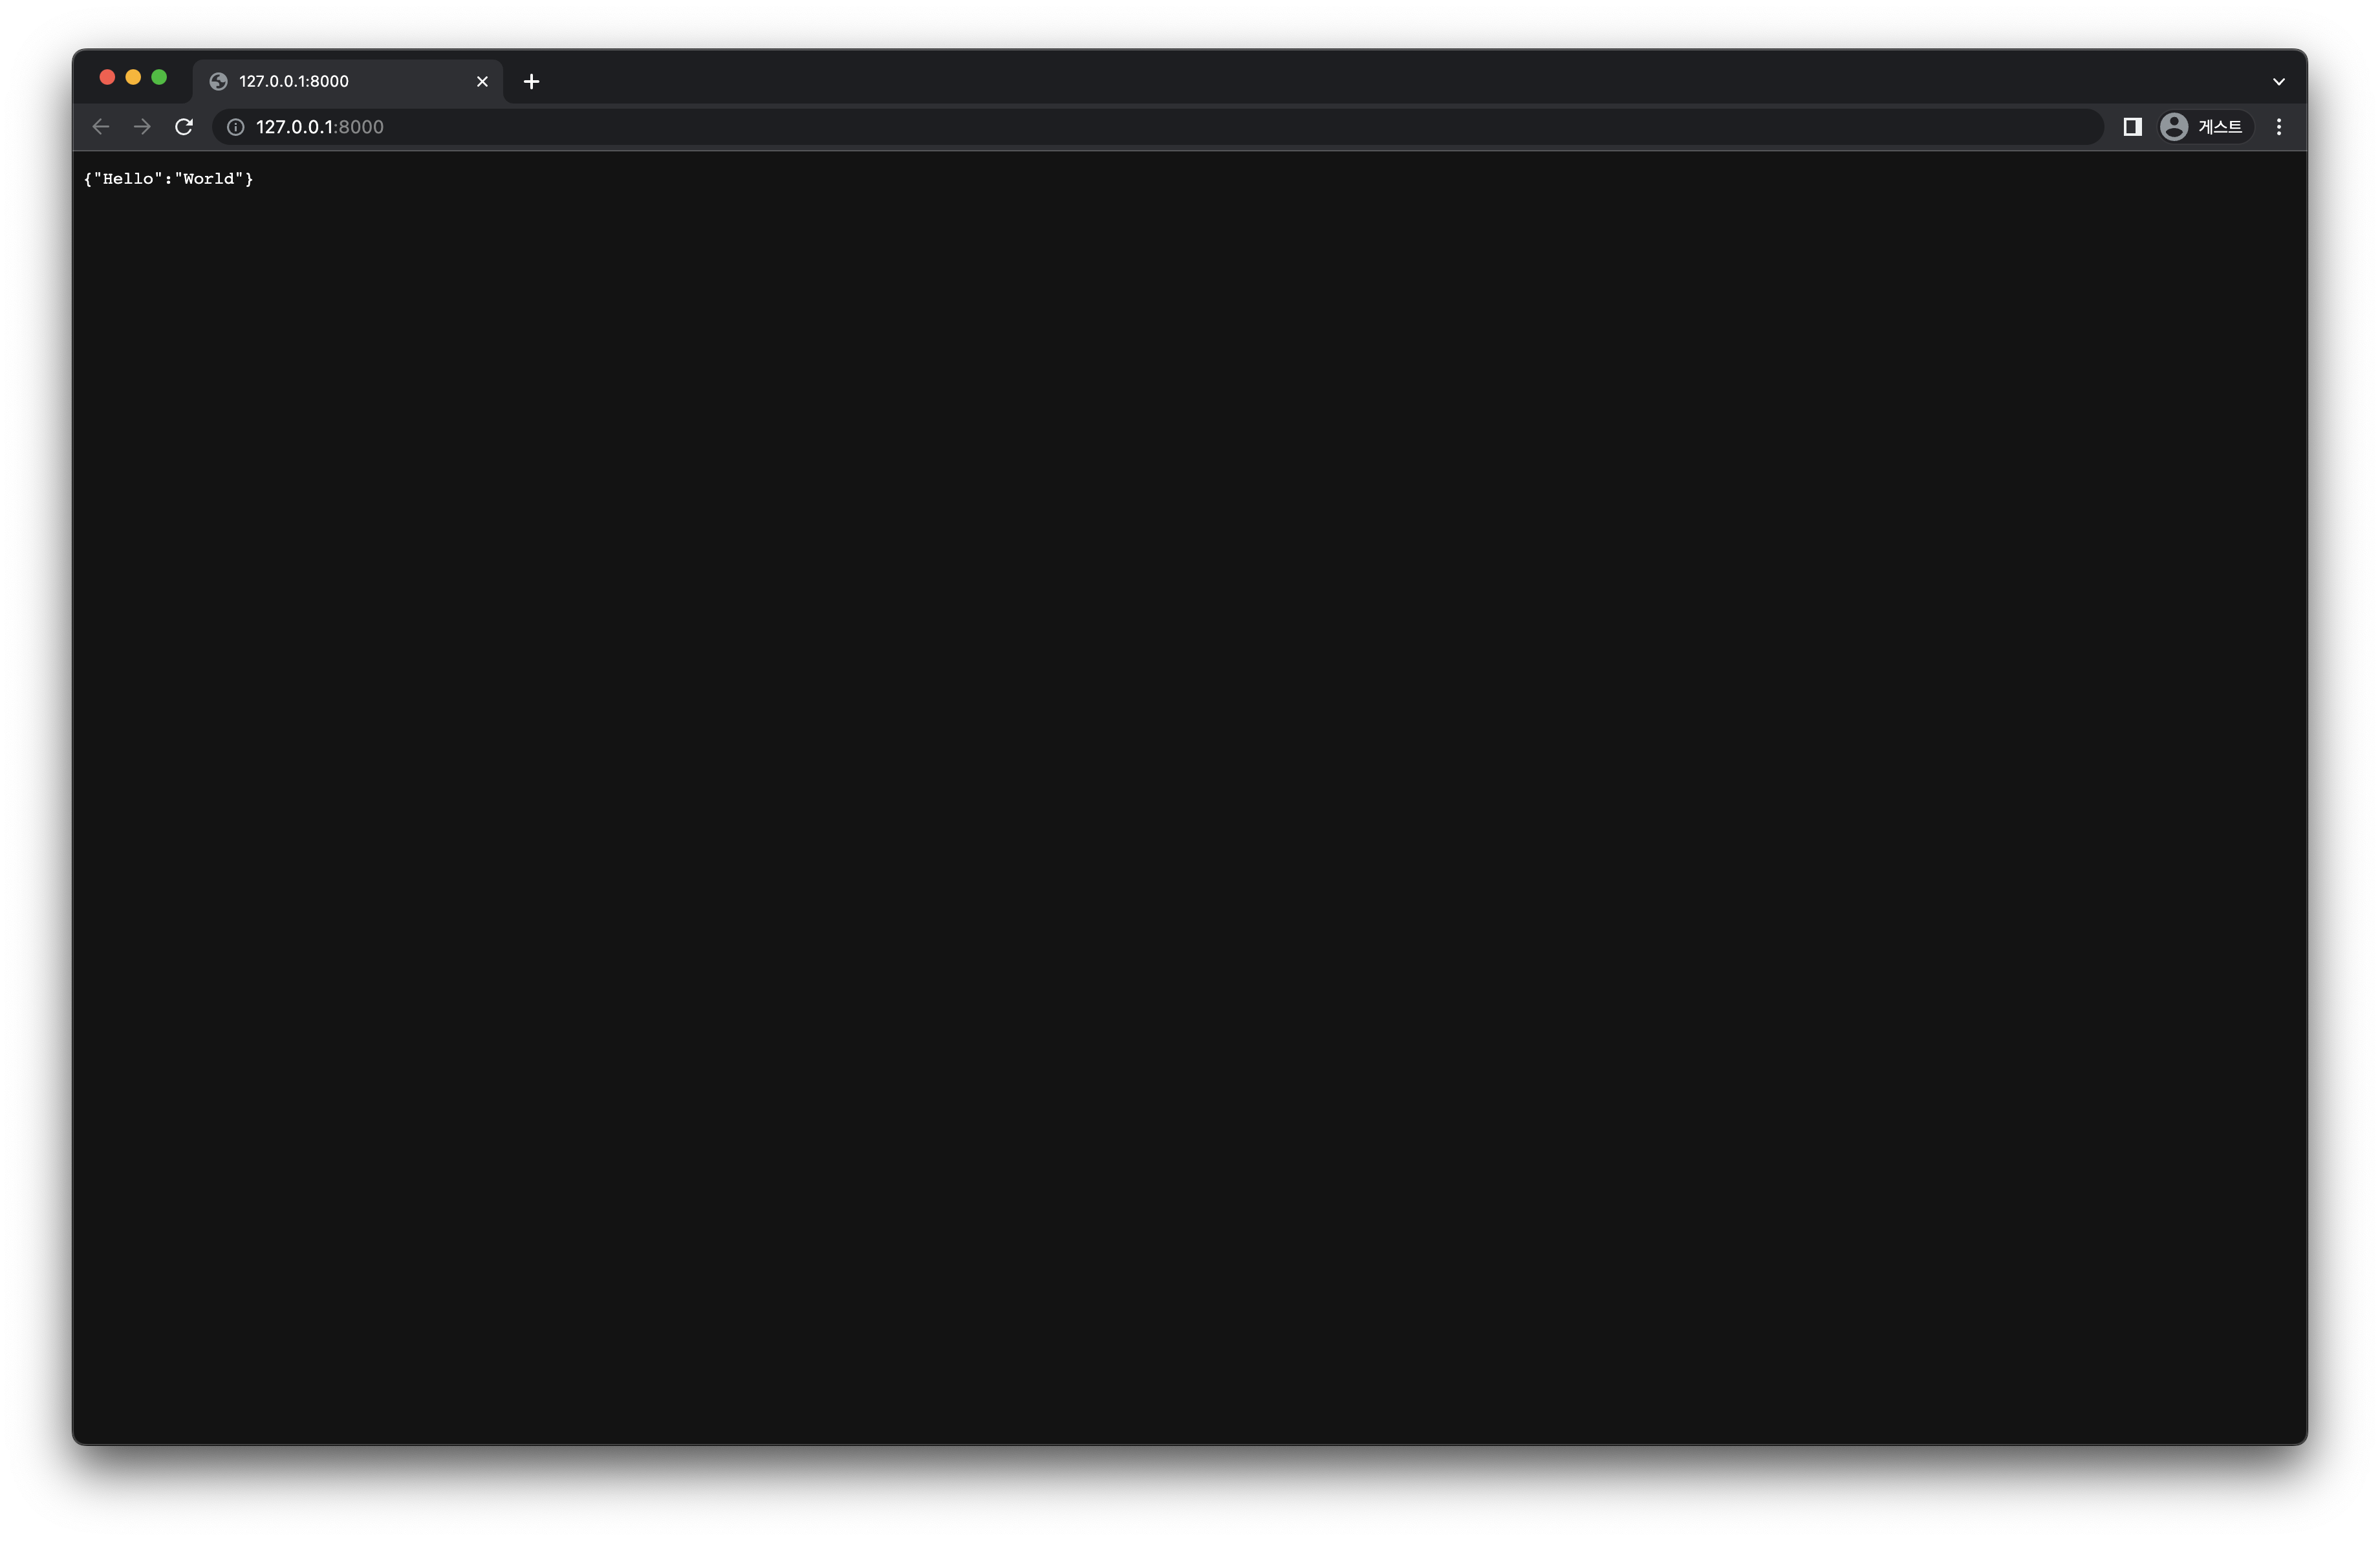 [그림 5-2]
 main.py 실행 화면
이번에는 http://localhost:8000/docs 에 접속해 봅시다.
다음과 같은 형태로 된 화면을 볼 수 있습니다.
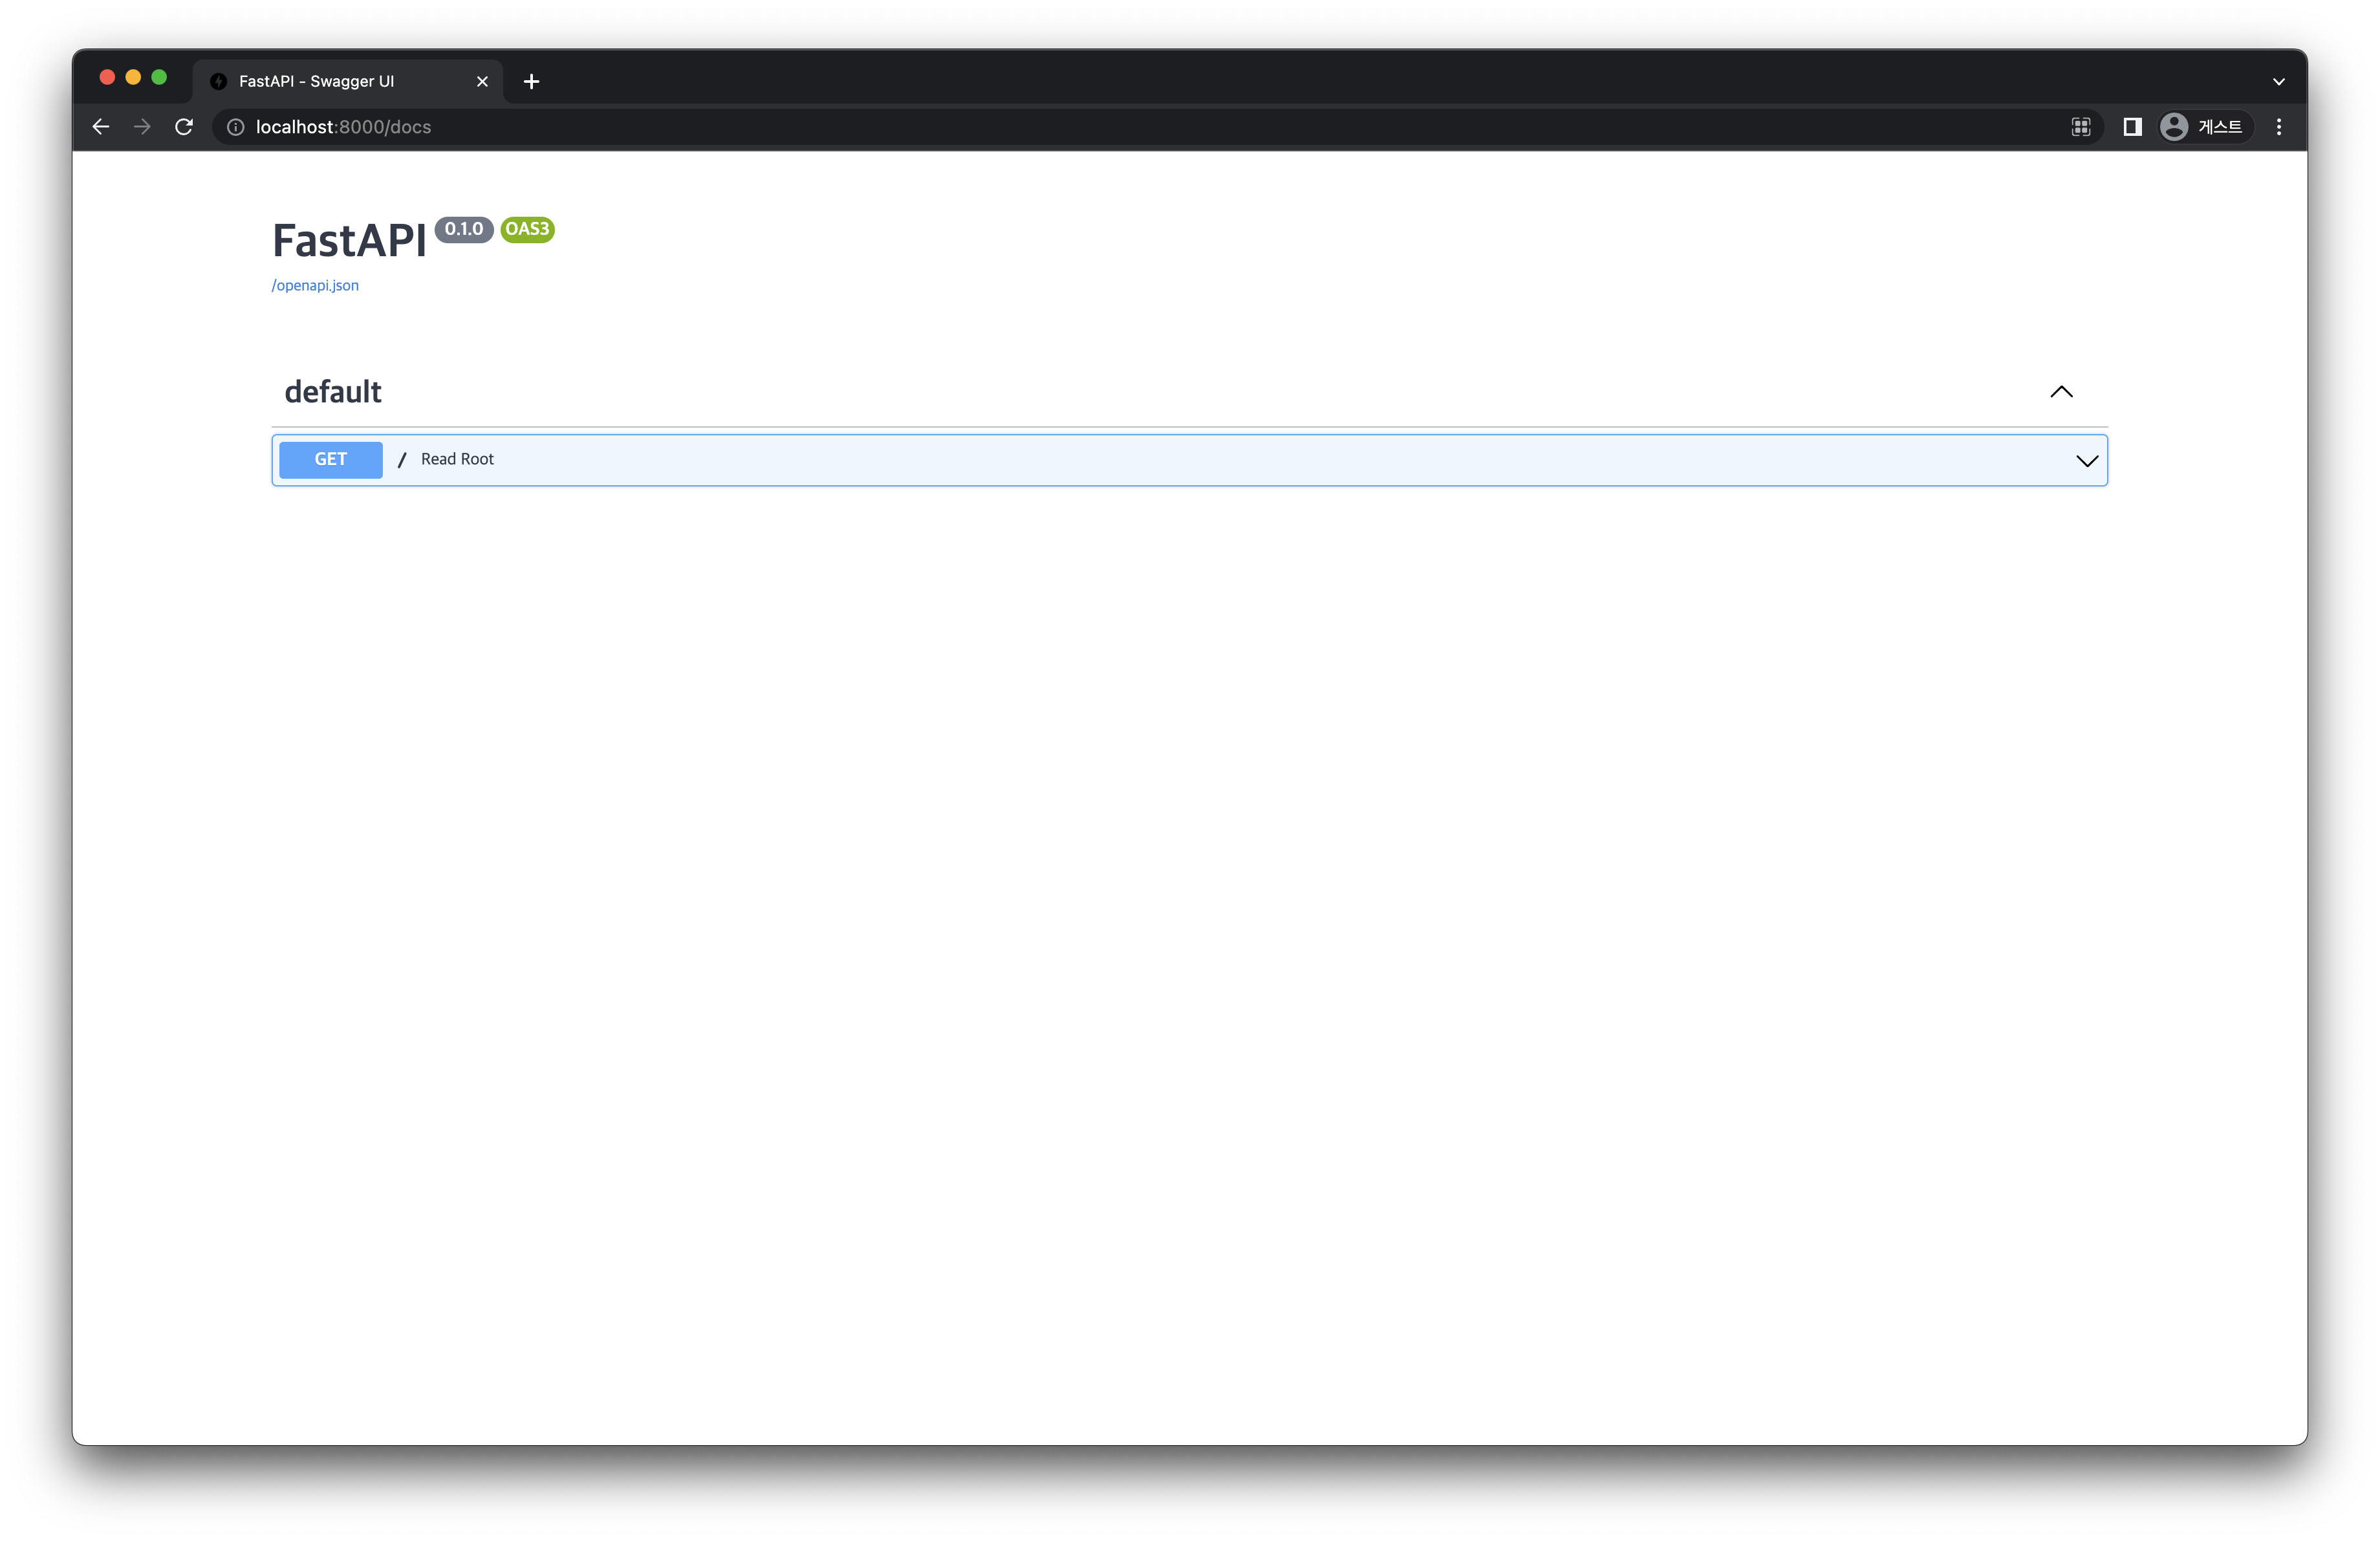 [그림 5-3] Swagger UI 화면
이는 Swagger UI 에 의해 제공되는 interactive API documentation 입니다. 이를 통해 작성한 API 를 다양하게 실험을 해보면서 잘 작성되었는지 테스트해 볼 수 있습니다.
2. Step by Step 으로 이해하기
이번에는 First Steps 에 있는 코드를 한 줄씩 살펴보겠습니다.
2.1 Step 1: Import FastAPI
API 를 만들 수 있도록 도와주는 Python 클래스 FastAPI 를 import 합니다.
from fastapi import FastAPI
2.2 Step 2: Create a FastAPI Instance
FastAPI 클래스의 인스턴스를 생성합니다.
여기에서 생성하는 인스턴스의 이름에 따라 uvicorn main:app --reload 과 같은 형태로 실행 명령어가 달라지게 됩니다.
app = FastAPI()
2.3 Step 3: Create a Path Operation
여기에서 말하는 path 는 URL 에서 첫 번째 / 부터 시작되는 마지막 부분을 의미합니다.
예를 들어 URL 이 https://example.com/items/foo 와 같이 되어 있다면, path 는 /items/foo 라고 할 수 있습니다.
Operation 은 POST, GET, PUT, DELETE 등과 같은 HTTP Method 를 의미합니다.
이러한 operation 을 수행하기 위해 @app.get("/") 와 같은 Path Operation Decorator 를 사용합니다.
@app.get("/") 은 FastAPI 로 하여금 path / 로 가서 GET operation 을 수행하라는 의미로 사용할 수 있습니다.
2.4 Step 4: Define the Path Operation Function
Path Operation Function 은 Path Operation 이 수행되었을 때 호출될 Python 함수를 말합니다. 다음과 같은 형태로 사용되었습니다.
@app.get("/")
def read_root():
    return {"Hello": "World"}
2.5 Step 5: Return the Content
Path Operation Function 을 통해 return 하는 값으로는 dict , list , str , int 등이 가능합니다.
또한, 뒤에서 나올 Pydantic Model 의 형태로도 return 할 수 있습니다.
3. Path Parameter 이해하기
Path Parameter 는 Path Operation 에 포함된 변수로 사용자에게 입력받아 function 의 argument 로 사용되는 parameter 를 의미합니다. [Path Parameters]
다음과 같이 path_param.py 를 작성하고 uvicorn path_param:app --reload 를 입력하여 실행합니다.
# path_param.py
from fastapi import FastAPI

# Create a FastAPI instance
app = FastAPI()


@app.get("/items/{item_id}")
def read_item(item_id: int):
    return {"item_id": item_id}
위와 같이 path 에 parameter 를 입력하도록 할 수 있습니다.
여기에서 item_id 와 같은 parameter 를 Path Parameter 라고 합니다.
입력된 Path Parameter 의 값은 function 에 argument 로 전달되어 함수가 호출됩니다.
또한, def read_item(item_id: int) 와 같이 type (여기에서는 int)을 제공할 수 있는데 이 때 제공된 것과 다른 type (예를 들어 str) 의 데이터가 입력되면 다음과 같은 형태로 HTTP Error 를 return 하게 됩니다.
{
    "detail": [
        {
            "loc": [
                "path",
                "item_id"
            ],
            "msg": "value is not a valid integer",
            "type": "type_error.integer"
        }
    ]
}
4. Query Parameter 이해하기
Query Parameter 는 function parameter 로는 사용되지만 Path Operation 에 포함되지 않아 Path Parameter 라고 할 수 없는 parameter 를 의미합니다. [Query Parameters]
다음과 같이 query_param.py 를 작성하고 uvicorn query_param:app --reload 를 입력하여 실행합니다.
# query_param.py
from fastapi import FastAPI

# Create a FastAPI instance
app = FastAPI()

fake_items_db = [{"item_name": "Foo"}, {"item_name": "Bar"}, {"item_name": "Baz"}]


@app.get("/items/")
def read_item(skip: int = 0, limit: int = 10):
    return fake_items_db[skip : skip + limit]
Path Parameter 와는 다르게, function 에 parameter 로 들어있는 skip 과 limit 이 Path Operation 인 @app.get("/items/") 에는 들어있지 않습니다.
Query 는 URL 에서 ? 뒤에 key-value 쌍의 형태로 나타나고, & 로 구분되어 사용됩니다.
예를 들면, 위와 같은 경우 http://localhost:8000/items/?skip=0&limit=10 과 같은 형태로 사용할 수 있습니다.
Query Parameter 는 path 의 고정된 부분이 아니기 때문에 optional 로 사용될 수 있고, 따라서 기본값을 가질 수 있습니다.
위의 예시에서는 skip=0 과 limit=10 의 기본값을 가지고 있습니다.
하지만 항상 기본값을 가지는 것은 아니고, 값을 입력받아야만 하는 Query Parameter 도 존재합니다. 이를 Required Query Parameter 라고 하고 다음과 같은 형태로 사용할 수 있습니다.
@app.get("/items/{item_id}")
def read_user_item(item_id: str, needy: str):
    item = {"item_id": item_id, "needy": needy}
    return item
위의 예시에서 needy 는 Path Operation @app.get("/items/{item_id}") 에 포함되어 있지 않으므로 Query Parameter 이고, function read_user_item() 에서 기본값이 존재하지 않기 때문에 Required Query Parameter 임을 알 수 있습니다.
이러한 경우 http://localhost:8000/items/foo-item 와 같이 needy 를 입력해주지 않으면 에러가 발생합니다.
따라서 http://localhost:8000/items/foo-item?needy=someneedy 와 같은 형태로 ? 뒤에 입력을 해 주어야 에러가 발생하지 않고 함수가 제대로 동작합니다.
5. Multiple Path and Query Parameters 사용해보기
Path Parameter 와 Query Parameter 를 모두 사용하여 Path Operation Function 을 작성해봅니다. [Multiple Path and Query Parameters]
다음과 같이 multi_param.py 를 작성합니다.
# multi_param.py
from typing import Union

from fastapi import FastAPI

# Create a FastAPI instance
app = FastAPI()


@app.get("/users/{user_id}/items/{item_id}")
def read_user_item(user_id: int, item_id: str, q: Union[str, None] = None, short: bool = False):
    item = {"item_id": item_id, "owner_id": user_id}
    if q:
        item.update({"q": q})
    if not short:
        item.update(
            {"description": "This is an amazing item that has a long description"},
        )
    return item
먼저 Path Operation 을 보면, @app.get("/users/{user_id}/items/{item_id}") 로 되어 있습니다.
이를 통해 user_id 와 item_id 라는 Path Parameter 가 있음을 알 수 있습니다.
이번에는 Path Operation Function 의 parameter 를 살펴 보면, user_id, item_id, q, short 가 있음을 알 수 있습니다.
이 중 Path Parameter 가 아닌 q 와 short 는 Query Parameter 임을 알 수 있고, 기본값이 각각 None 과 False 임을 알 수 있습니다.
다음과 같은 형태로 URL 을 줄 수 있을 것입니다.
http://localhost:8000/users/3/items/foo-item?q=hello&short=Truehttp://localhost:8000/users/3/items/foo-item?short=Truehttp://localhost:8000/users/3/items/foo-item?q=hellohttp://localhost:8000/users/3/items/foo-item